Ever step into a bathroom and feel like the walls were pulled straight out of a showroom, yet you’re not sure why the price tag didn’t break the bank? That’s the magic of acrylic bath walls—slick, waterproof, and surprisingly affordable when you know the right tricks.
Most contractors in Anderson, SC will tell you acrylic is “just a cheap alternative,” but the pros who actually install them keep a handful of game‑changing secrets under lock and key. From the way they prep the surface to the hidden costs that pop up later, there’s a lot more to these panels than meets the eye.
Ready to see what the industry doesn’t want you to know? Keep reading and you’ll discover the five insider tips that can save you time, money, and a lot of headaches.
The True Cost Breakdown: What’s Really Included in Acrylic Wall Installation
When a contractor hands you a flat‑rate number, most of the time it’s just the “panel price + labor.” That’s the headline, not the whole story. The real cost lives in the details that rarely make the estimate sheet.
What the Quote Usually Covers
- Panel material – the acrylic sheets themselves, cut to size.
- Basic prep – removing old tile or drywall and a quick clean.
- Standard labor – the hours a crew spends mounting the panels.
- Sealant kit – a tube of silicone to finish the seams.
These items are the “must‑haves.” If you’re lucky, the contractor will list them clearly, and you’ll know exactly what you’re paying for.
Extra Items That Can Sneak In
- Surface priming – a primer coat that protects the wall and helps the acrylic bond.
- Waterproof backer board – a layer that stops moisture from reaching the studs.
- Custom edge profiles – rounded or beveled edges that look premium but add $200‑$500.
- Disposal fees – hauling away old tile, drywall, and packaging.
Ask for a line‑item breakdown before you sign. Knowing whether a $1,200 job includes a backer board or not can save you a nasty surprise when the final bill arrives.
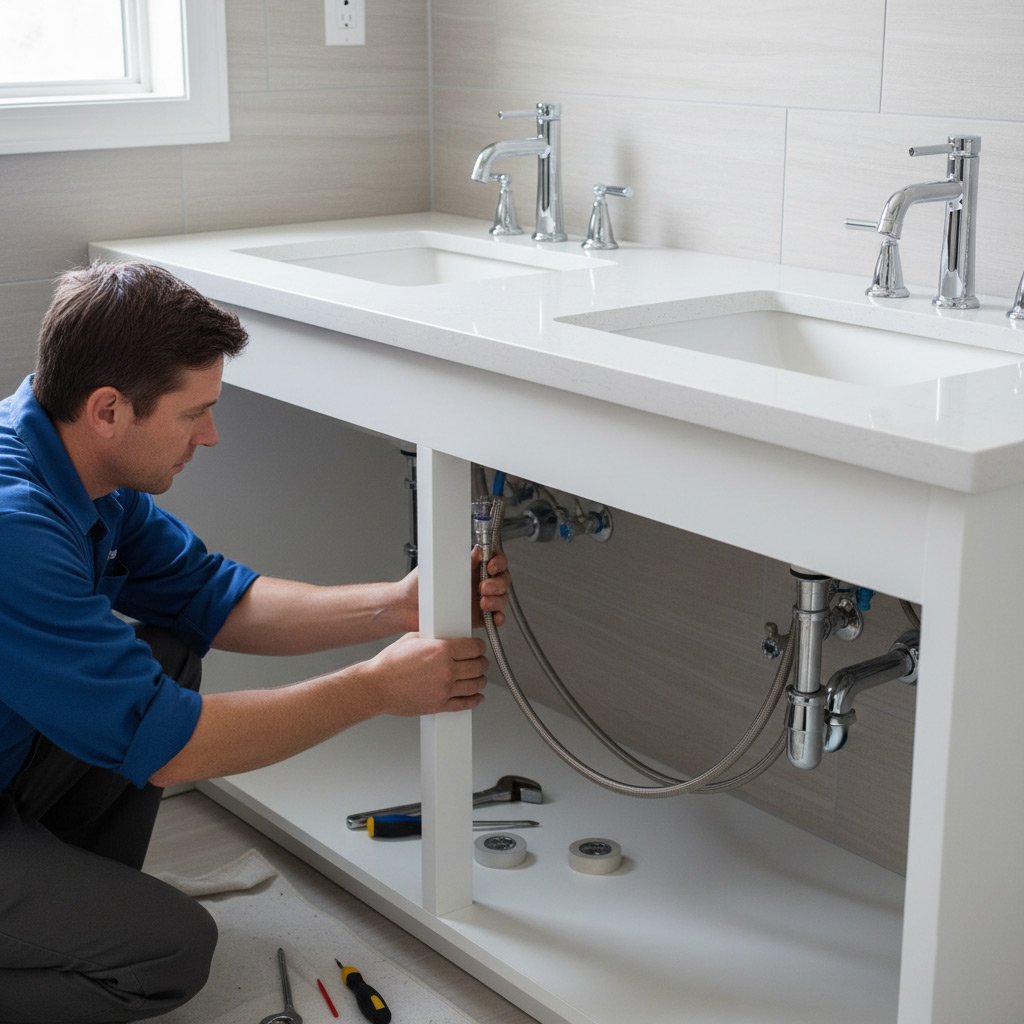
Surface Preparation Secrets: How Pros Ensure a Flawless, Waterproof Base
Before the first acrylic panel ever touches the wall, the surface must be dead‑flat and completely dry. A quick sweep isn’t enough; pros sand down any bumps, scrape away old tile grout, and hunt down hidden leaks that could turn a sleek wall into a soggy nightmare.
Testing for Moisture
Even a whisper of dampness can ruin the adhesive bond. The trick is to use a moisture meter and let the reading settle for at least 24 hours.
- Step 1: Tape the meter to the wall, press firmly, and note the reading.
- Step 2: If the number is above 12 % relative humidity, open a window or run a dehumidifier.
- Step 3: Re‑test until the reading drops below the safe threshold.
Priming and Leveling
Once the wall is bone‑dry, a high‑quality primer creates a bond‑friendly skin. It also seals any porous spots that could suck up the acrylic glue later.
- Apply a thin coat of water‑based primer with a roller; let it cure for 30 minutes.
- Inspect for low spots with a straightedge; fill them with a cement‑based leveling compound.
- Sand the patched areas smooth, then wipe away dust before the next step.
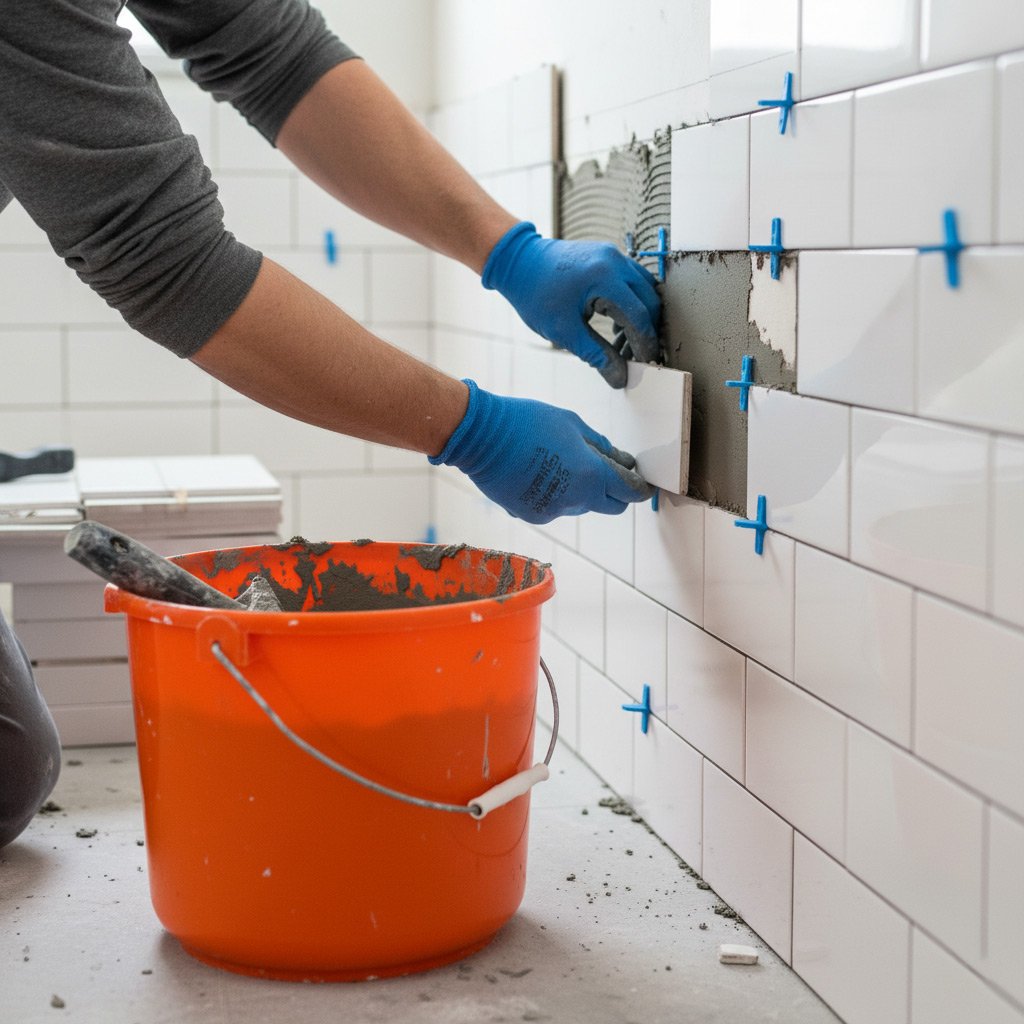
Installation Techniques That Extend Longevity and Prevent Leaks
Seal Every Edge Like Your Money Depends on It
Pros don’t just slap a bead of silicone on the first joint they see; they prime the acrylic surface, apply a high‑grade marine sealant, and then smooth it with a caulk‑smoothing tool. That extra step creates a flexible barrier that moves with the panel when temperature shifts, keeping water out for years.
Secure the Panels with a Dual‑Lock System
Instead of relying on adhesive alone, seasoned installers embed aluminum clips into the backer board and lock the acrylic panels in place. This mechanical grip stops panels from bowing under weight, which is a common cause of hidden leaks.
- Use a moisture‑resistant cement board as the substrate.
- Fasten clips every 12‑18 inches for even support.
- Leave a 1/8‑inch gap at the floor for expansion.
Mind the Expansion Joints
Temperature swings in Anderson can make acrylic expand and contract like a rubber band. Pros cut a tiny expansion groove at every corner and fill it with a flexible, paint‑able filler. This tiny gap absorbs movement, so the panels never crack or pull away from the wall.
Hidden Pitfalls Homeowners Overlook: Common Mistakes and How to Avoid Them
Skipping the Moisture Test
Many DIYers assume the existing wall is dry because it looks fine. One missed moisture test can turn a flawless install into a slow‑leak nightmare. Grab a simple hygrometer, press it against the surface, and wait ten minutes—if the reading spikes, you need a waterproof membrane before the acrylic goes up.
Rushing the Sealant Curing Time
Contractors love to brag about “quick‑dry” sealants, but the chemistry still needs time. Cutting the cure period in half invites gaps that water loves to exploit. Let the sealant sit for at least 24 hours before exposing it to steam or a shower head.
Neglecting Expansion Gaps
Acrylic expands with temperature changes; if you glue it edge‑to‑edge, the panels will pop.
- Leave a ¼‑inch gap at corners and around fixtures.
- Fill the gap with a flexible, paint‑able silicone.
- Check the gap after the first hot shower—adjust if needed.
These tiny steps keep the wall looking showroom‑ready for years, not just until the next remodel.
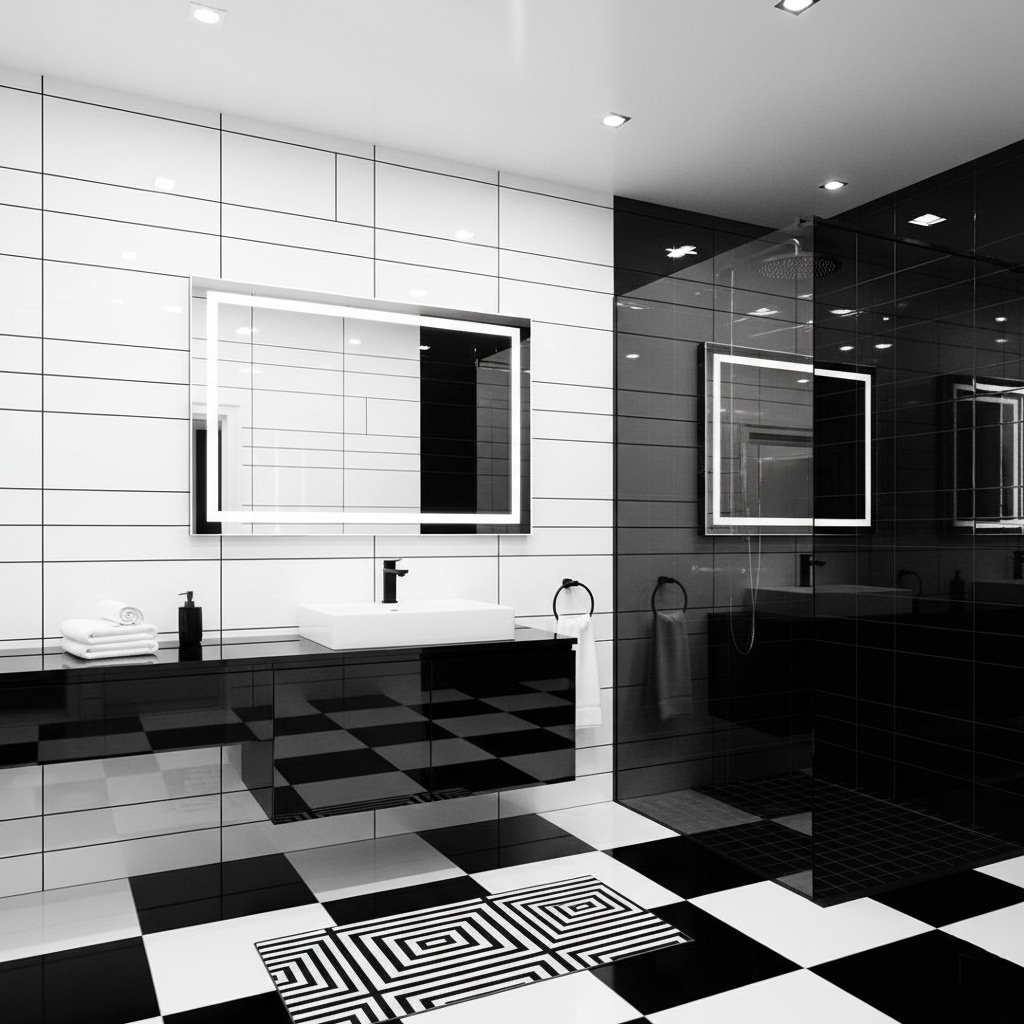
Customization Options: Styling Acrylic Walls Without Breaking the Bank
Color Play
Most acrylic panels come in a neutral palette, but a quick spray‑coat can turn a bland slab into a statement piece. Choose a water‑based acrylic paint that’s labeled “bathroom safe” and you’ll keep the warranty intact.
Even a single accent strip can add depth. Think a bold teal line at the midpoint or a subtle marble‑vein decal that slides on like a sticker.
- DIY paint kit: $30‑$50
- Pre‑cut vinyl decals: $15‑$40 per sheet
- Professional spray finish: $150‑$250
Texture & Accents
Texture doesn’t have to mean expensive stone. A thin layer of textured wallpaper designed for wet areas can be applied over the acrylic for a tactile feel.
For a splash of luxury, add metallic trim or a narrow strip of real tile at the shower ledge. It’s a visual break that costs pennies per foot.
- Water‑proof wallpaper roll: $25‑$45
- Aluminum trim (1‑ft lengths): $5‑$10 each
- Small mosaic tile strip (12‑in): $12‑$20
Smart Add‑Ons
Lighting and hardware are the low‑hanging fruit for a high‑impact makeover. Install a LED strip behind a recessed edge for a glow that makes the acrylic pop.
Swap out standard towel bars for brushed‑nickel or matte black pieces. The price jump is minimal, but the style lift is huge.
- LED strip kit (12‑ft): $20‑$35
- Brushed‑nickel towel bar: $15‑$25
- Matte black faucet set: $80‑$120
Case Study: Transforming a 1970s Bathroom in Anderson, SC with Acrylic Walls
The Starting Point
When the Johnson family walked into their 1970s bathroom, the avocado‑green tiles and cracked plaster screamed “time‑warp.” They wanted a fresh look without tearing the house apart, so they called a local acrylic specialist.
After a quick walkthrough, the contractor mapped out a plan that kept the original plumbing intact and swapped the dated walls for sleek acrylic panels.
Step‑by‑Step Execution
Here’s how the crew turned a retro relic into a modern oasis:
- Demo & disposal: Removed old tiles and drywall in under four hours.
- Surface prep: Applied a cementitious backer board, then a waterproof membrane—no shortcuts.
- Panel layout: Measured twice, cut acrylic to fit around the vanity and tub.
- Sealed every joint with a marine‑grade silicone, guaranteeing a leak‑free finish.
- Added a brushed‑nickel trim for a polished edge that matches the new fixtures.
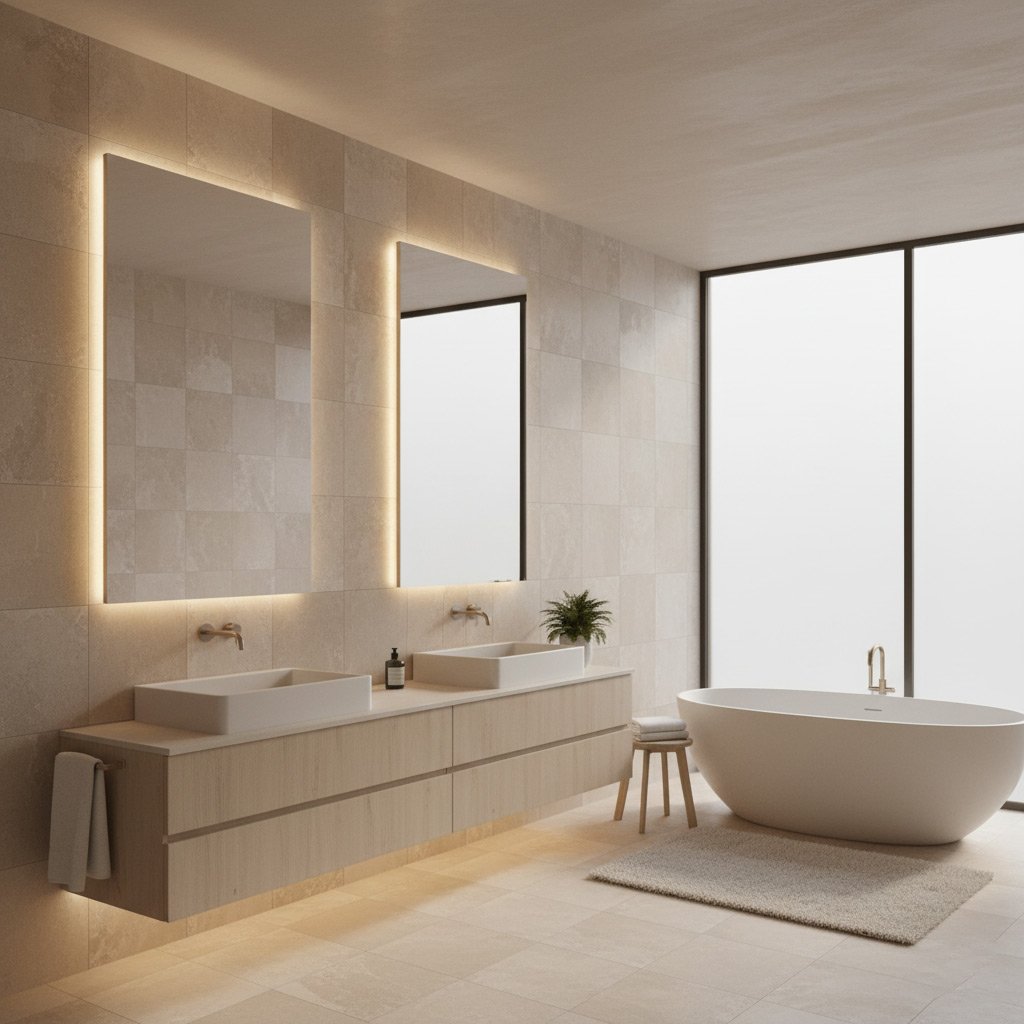
The Reveal
Within a week, the Johnsons stepped onto a bathroom that felt like a boutique spa. The acrylic walls reflected light, making the space feel larger, and the cost stayed 30% below the quoted tile remodel.
Best part? Six months later, no water stains, no cracks—just a glossy surface that still looks brand new.
Final Words
Before you swing that hammer, double‑check the checklist. A clean, dry substrate, the right adhesive, and a proper sealant are the three pillars that keep acrylic walls from turning into a leaky nightmare. Miss one, and you’ll pay for it later.
What to Do Next
- Inspect the wall for any imperfections before the first panel goes up.
- Ask your installer for a written warranty that covers both material and labor.
- Schedule a post‑install walkthrough to catch any gaps while the adhesive is still fresh.
If you’re ready to skip the guesswork, tap into the expertise of Anderson’s acrylic specialists. Visit our Acrylic Bath Walls page to see portfolios, read reviews, and book a free on‑site estimate. The right partner turns a DIY headache into a showroom finish—no hidden fees, no surprise leaks.
People Also Ask
What is actually included in the price of acrylic wall installation?
The quoted price typically covers the acrylic panels, adhesive, waterproof membrane, trim pieces, and labor. It may also include removal of old walls, disposal fees, and a limited warranty, but always confirm the details with your contractor.How do professionals prepare the surface before installing acrylic walls?
Pros first inspect for moisture, then apply a cement backer board or waterproof membrane to create a stable, water‑tight base. They seal seams and corners with high‑quality silicone to prevent future leaks.Which installation methods help acrylic walls last longer?
Using a pressure‑sensitive adhesive and ensuring a tight, overlapping joint system reduces stress on the panels. Properly anchoring trim and allowing the adhesive to cure fully before use also extends the wall’s lifespan.What common mistakes do homeowners make with acrylic bath walls?
Skipping the waterproof membrane, using the wrong adhesive, and neglecting to seal all seams are frequent errors. These oversights can lead to water damage, mold growth, and premature panel failure.Can I customize acrylic walls without spending a fortune?
Yes—many installers offer a range of colors, textures, and decorative trims that fit most budgets. Adding simple accents like beveled edges or mosaic inserts can personalize the look without a major cost increase.Anderson Bathroom Remodel brings over 15 years of specialized bathroom renovation expertise to homeowners throughout Anderson, South Carolina. Their team combines skilled craftsmanship with a deep understanding of local design trends to deliver functional, stylish spaces. Committed to personalized service, they guide each project from concept to completion with clear communication and reliable timelines.
Need Bathroom Remodel?
We transform bathrooms in Anderson, SC and surrounding ZIPs (29621, 29624, 29634, 29678, 29640), delivering high‑quality remodels completed on schedule. Expect a refreshed space ready for everyday use without delay.
Get Bathroom Estimate